
A popular accounting program that helps small and medium-sized companies effectively manage their money is QuickBooks. Additionally, you must update both your setup and your strategies as your business grows. This process can become confusing and tricky, with challenges like transferring your priceless database to a new computer and configuring it to work with the upgraded system. Fortunately, QuickBooks includes a tool that enables you to move all of your important data without any problems.
We’ll guide you through every step of moving QuickBooks to a new computer in this post, from backing up your company file to installing the latest version.
Key takeaways,
- Resolving technical issues and upgrading hardware are two of the main reasons to move QuickBooks.
- QuickBooks provides a tool called the QuickBooks Migrator Tool to simplify the transition process.
- When transferring your data, take your time, generate backup copies, and verify that everything is compatible.
What are the Tips for Smoothly Transferring QuickBooks to Another Location
Even though the process appears to be very simple, errors might cause complications that lead to data loss or other problems. It may be expensive and time-consuming to fix them. Therefore, it’s best to be aware of such problems and take measures to avoid them. The following are some common errors to avoid:
- Back up your data
- Make a backup of your company file and any other important data before transferring QuickBooks to another device. If you don’t make a backup file, you can move your data and lose it or damage it.
- Check compatibility
- You have to ensure that your new computer meets the minimum requirements of the system for QuickBooks. Failure to do so could lead to software problems including crashes or slow performance.
- Deactivate QuickBooks on the old computer
- Issues with license and QuickBooks activation may arise if you don’t deactivate QuickBooks on your old computer before moving it to a new one.
- Update QuickBooks
- Ensure that QuickBooks is installed on the latest version of your computer before transferring it to a new one. Software updates could bring compatibility problems or other issues.
- Transfer all necessary files to a new computer
- Make sure you transfer all required data, such as company files, templates, and other settings, when moving QuickBooks to a new computer.
- Don’t rush through the process
- When installing QuickBooks on a new computer, take your time and pay close attention to all the instructions. Rushing through the process could result in errors or other software-related problems.
How to Move QuickBooks to a New Computer
The QuickBooks Migrator Tool is the best option if you want to completely remove and reinstall QuickBooks Desktop on a different computer. Let’s learn about its definition and application.
The QuickBooks Migrator Tool
The Migrator Tool provides a way to move QuickBooks and up to three company files to a different device for users of the US version of QuickBooks Desktop 2018 to 2024 latest version running as a single user. Also, keep in mind that you need company admin access to use the Migrator Tool.
The following will be necessary for you to use the Migrator Tools:
- A new computer with an internet connection;
- A USB flash drive that has enough room on it to hold your QuickBooks files;
- The QuickBooks Migrator Tool will specify how much free space is needed, usually between 150 and 250 MB.
Note 2: The Migrator Tool on a 32-bit Windows PC may stop if your USB contains files from 64-bit QuickBooks Desktop 2022 or 2023. Only 64-bit QuickBooks files can be moved between 64-bit computers.How to set up and use the Migrator Tool?
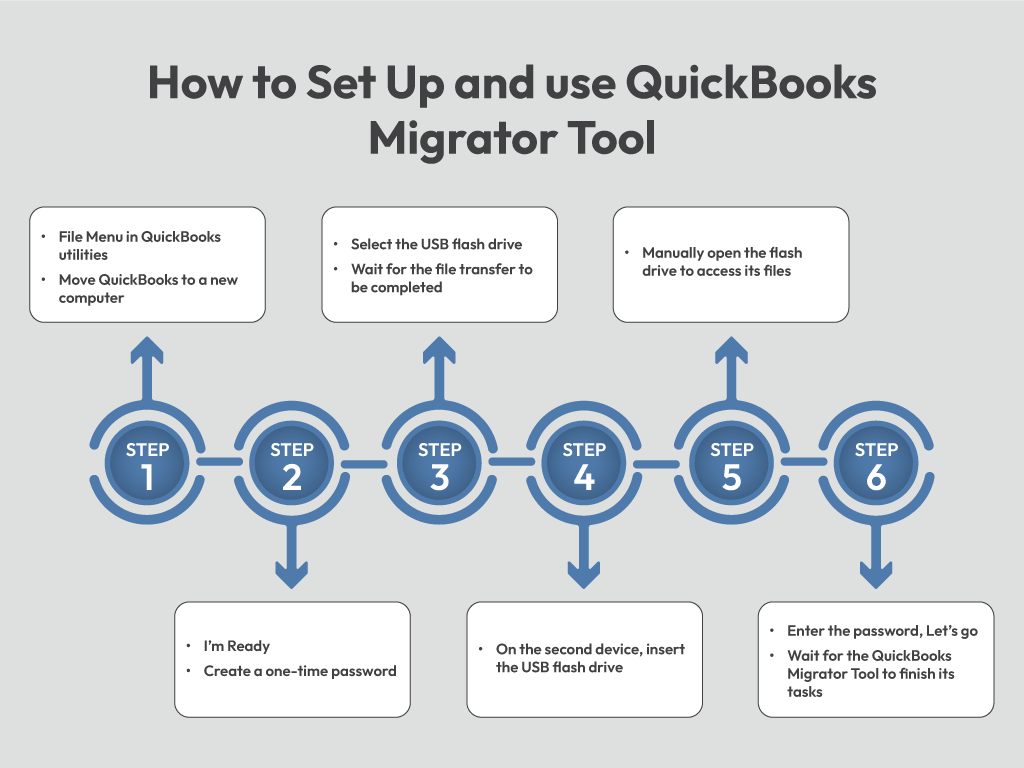
On the first computer:
- Step 1: Open QuickBooks, go to the File menu, choose Utilities, and then pick Move QuickBooks to a new computer.
- Step 2: Select “I’m Ready” and follow the instructions to set a one-time password.
- Step 3: Select the USB flash drive by following the instructions, then wait for the file transfer to finish.
On the second computer:
- Step 4: Place the USB flash drive. Windows security settings prevent the QuickBooks Migrator Tool from opening automatically.
- Step 5: Double-click the Move_QuickBooks.bat file to open the QuickBooks Migrator Tool after manually opening the flash drive to access its files.
- Step 6: Choose Let’s Go after entering the password you made. Wait for the completion of the QuickBooks Migrator Tool’s tasks, which could take some time depending on the size of your company file(s), your computer, and your internet speed.
Note: After you are done, the QuickBooks Migrator Tool immediately removes the QuickBooks files from the USB flash drive. But your old PC will still have these files on it. To avoid using the incorrect file or files by accident, we advise renaming one or more on the outdated device.What can you do next to move QuickBooks to another computer?
You might need to perform additional steps to completely set up your new computer, as the tool will not transfer all information.
You may need to access and set up your backup plan for Intuit Data Protect, transfer any additional company files from your old device to a new computer, or create a backup file on the new computer, depending on how you have your setup on the old device.
Reinstalling your QuickBooks connectors with third-party apps, which streamline accounting workflow, is one of the most important things. You may need to do additional steps based on the type of application you are using.
When is it Necessary to Move QuickBooks to a New Computer?
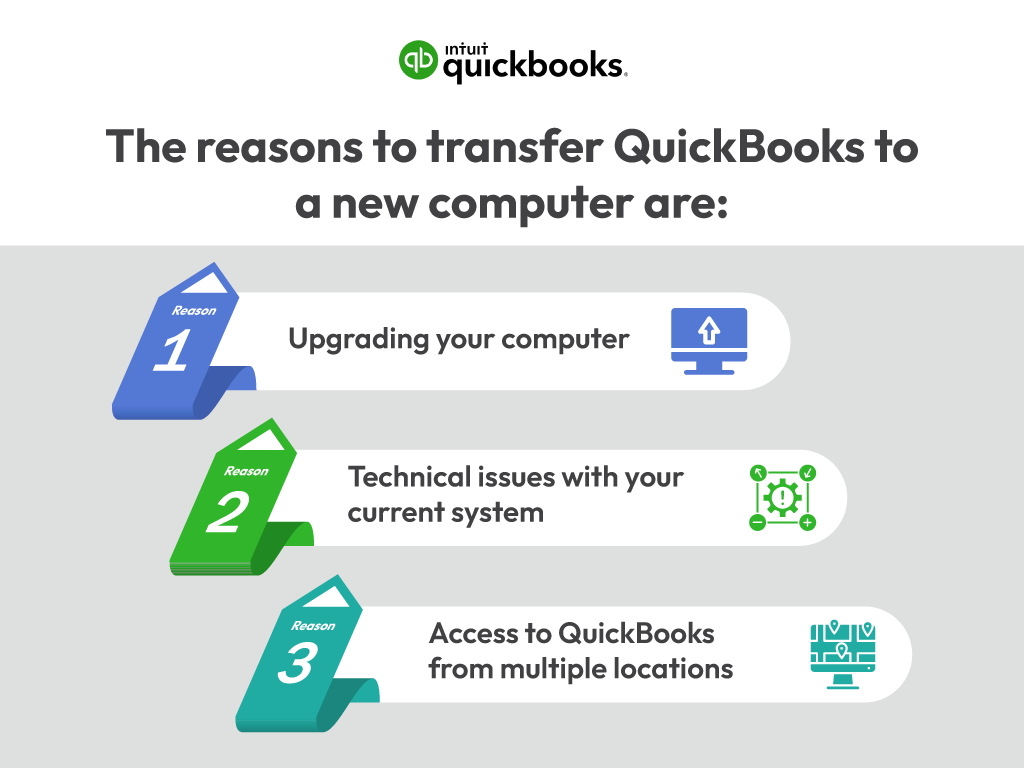
There are three main reasons you would want to move QuickBooks to a new computer. Let’s examine them in more detail:
- Upgrading your device: Let’s say you’ve been using QuickBooks on an old device for years, but now it’s beginning to become unresponsive and you’re running low on storage. You make the decision that it’s time for an upgrade and buy a speedier laptop with lots of storage. You must transfer the software to another computer to use it seamlessly.
- Technical problems or errors with your current system: Suppose the software freezes or displays strange error messages each time you try to use it. You can’t finish your task due to it, which is really frustrating. You therefore make the decision to install QuickBooks on another device to see whether it resolves the issue. By doing this, maybe, you can avoid those annoying problems and continue using the program uninterrupted.
- Working remotely or needing access to QuickBooks from multiple locations: Suppose you manage a small business with multiple offices in different cities or countries, and you regularly travel between them to oversee operations. In this scenario, managing payroll, keeping an eye on cash flow, and keeping track of spending all need you to interact with the software. You choose to install QuickBooks on a new laptop that you may take on trips to guarantee easy access to the books wherever you are. In this way, you ensure that you can continue to operate efficiently and remotely when handling your financial tasks.
Conclusion
The best rule of thumb when transferring QuickBooks to a new computer is to take your time and do it correctly! Take your time and carefully follow all the instructions to make a backup file containing your information, confirm that QuickBooks is activated correctly and operating properly on the new computer, deactivate the old computer’s software, update QuickBooks, and transfer all required data. Rushing through the process could result in errors and data loss, even if it can appear simple at first.
Frequently Asked Questions
Try the steps given below,
* On your main device, download, install, and activate QuickBooks.
* Select “Switch to Multi-user Mode” from the QuickBooks File menu. Click “Yes” when a box asking if you need to set up multi-user hosting appears.
* Click “OK” on the window displaying the details of the multi-user setup.
Follow the given steps,
* First, you have to go to the QuickBooks menu and then choose Manage My License.
* Click on Deauthorise This Computer.
* When asked, you can select Deauthorize and Quit.
* Then reopen and then register QuickBooks.
Yes, for QuickBooks Online. It’s a full-featured cloud-based solution that can be accessed on mobile devices and PCs with any supported browser. It is a far more involved process for the desktop version. To map the server or host computer as a network drive, you must first be able to access QuickBooks Desktop remotely.
* Using a compatible web browser you can log in to QuickBooks.
* Then go to the Export overview screen and then select the Get Started button.
* Now, by clicking on the Download tool button you have to download the QuickBooks Migrator Tool.
* You have to open the installer once the download is complete and go on running it.
Usually, your company file is stored in the C: drive at the following location: C:\Users\Public\Public Documents\Intuit\QuickBooks\Company Files.
Follow the steps to create a backup file:
* Begin by going to the File menu and then select Back Up.
* Then find the Back Up Company File tab.
* To change the file name you have to click on Browse and then choose where to save the backup.
* Then click save and click OK.
* Copy the last three opened company files (as well as their backup files) to a USB flash drive using the program.
* With the QuickBooks Migrator Tool taking care of all the technical parts, use the USB flash drive to move the files to the new computer.
* The program will install the appropriate version of QuickBooks Desktop on your newly acquired PC and set it up with your files.